£1.00 – £46.50Price range: £1.00 through £46.50
| 1 BOX PROPERTIES | STONE PANELS | CORNERS | SAMPLE |
|---|---|---|---|
| Number of Tiles per 1 Box | 6 | 6 | 1 |
| 1 box Coverage | 0.50 m2 | 0.45 m2 | |
| Number of [lm] of Corner per box | - | 0.90 m ( corner height )- | |
| 1 box Weight ( gross) | 18 kg | 18 kg | 1 kg |
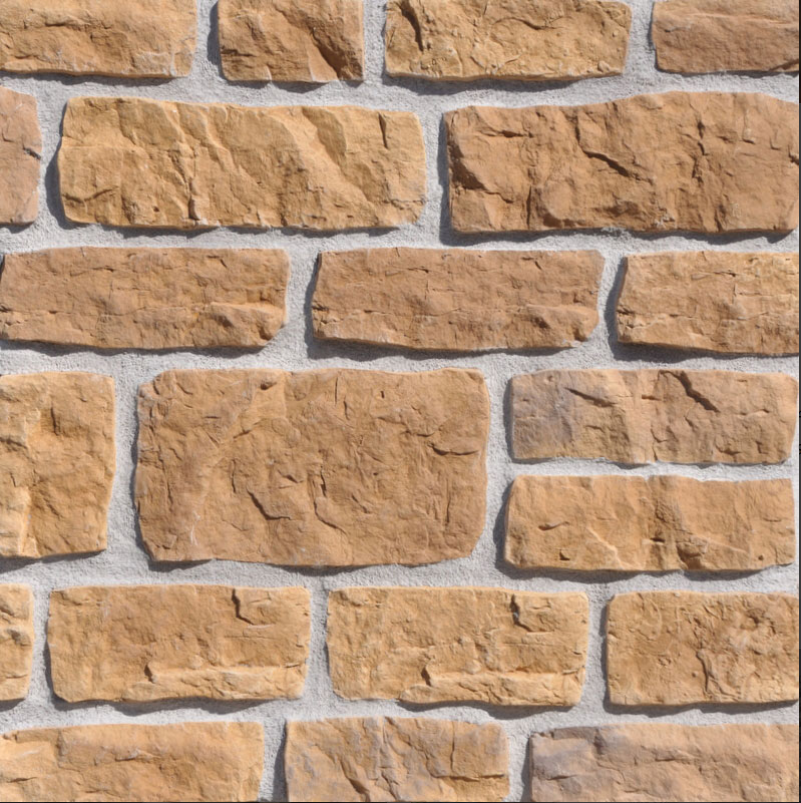
| PRODUCT PROPERTIES | Stone Panel / Tile | Corner | Sample |
| Single Tile / Corner Dimensions [mm] Length x Height x Thickness |
550 × 150 × 12-33 mm | 120-360 x 150 x 12-33 mm | 180 × 150 × 12-33mm |
| Tile / Corner Body Coloured | yes | yes | yes |
| Fire Rating | A1 | A1 | A1 |
| Suitability | Indoor & Outdoor | indoor & Outdoor | Indoor & Outdoor |
| EN 14992:2007+A1:2012 |
CE & UKCA certified in accordance with EN 14992:2007+A1:2012, confirming compliance with applicable UK and European construction product standards. |
||
| Property | Stone Panels | Corners | Sample |
|---|---|---|---|
| 1 Box Properties | |||
| Number of Tiles per 1 Box | 6 | 6 | 1 |
| 1 box Coverage | 0.50 m2 | 0.45 m2 | - |
| Number of [lm] of Corner per box | - | 0.90 m (corner height) | - |
| 1 box Weight (gross) | 18 kg | 18 kg | 1 kg |
| Product Properties | |||
| Dimensions (L x H x T) [mm] | 550 × 150 × 12-33 mm | 120-360 x 150 x 12-33 mm | 180 × 150 × 12-33 mm |
| Body Coloured | yes | yes | yes |
| Fire Rating | A1 | A1 | A1 |
| Suitability | Indoor & Outdoor | Indoor & Outdoor | Indoor & Outdoor |
| EN 14992:2007+A1:2012
CE & UKCA certified |
|||
Watch our step-by-step installation video:
Or follow the written instructions below for a smooth and professional finish.
Before starting installation, carefully measure the area you wish to clad. Calculate the required number of boxes and allow an extra 5% to account for cuts and waste.
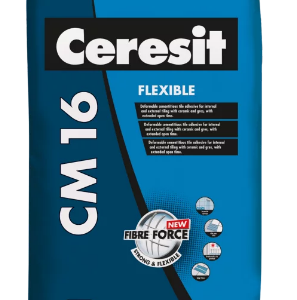
Make sure you also purchase:
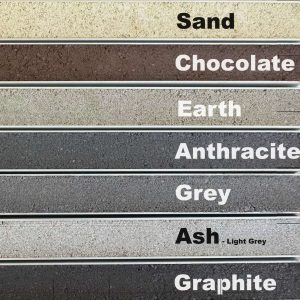
Please note: Minor variations in colour and size may occur due to the use of natural materials and traditional manufacturing methods. This variation contributes to the natural beauty of the stone. To ensure a consistent appearance, always mix tiles from several boxes during installation.
Installation should take place when ambient temperatures are between +5°C and +35°C, and remain within this range for at least 48 hours after completion. Additional product-specific installation details can be found on the packaging—please read all instructions carefully before beginning.
Ensure that all surfaces are:
Remove any loose materials or coatings that may affect adhesion.
After installation and once all adhesive and mortar have fully dried:
Complete Your Project with the Right Accessories
Once you’ve chosen your products, don’t forget to add the essential extras needed to finish your project to the highest standard.
You can browse our Accessories category or simply scroll down on any product page to view the Related Products section.
For most installations, we recommend adding the following items:
Need assistance? Our friendly Customer Support Team is here to help.
Call us on 01482 428384 or click the Contact Button to get in touch
| Property | Stone Panels | Corners | Sample |
|---|---|---|---|
| 1 Box Properties | |||
| Number of Tiles per 1 Box | 6 | 6 | 1 |
| 1 box Coverage | 0.50 m2 | 0.45 m2 | - |
| Number of [lm] of Corner per box | - | 0.90 m (corner height) | - |
| 1 box Weight (gross) | 18 kg | 18 kg | 1 kg |
| Product Properties | |||
| Dimensions (L x H x T) [mm] | 550 × 150 × 12-33 mm | 120-360 x 150 x 12-33 mm | 180 × 150 × 12-33 mm |
| Body Coloured | yes | yes | yes |
| Fire Rating | A1 | A1 | A1 |
| Suitability | Indoor & Outdoor | Indoor & Outdoor | Indoor & Outdoor |
| EN 14992:2007+A1:2012
CE & UKCA certified |
|||
We're here for you
Explore our reviews
")
")
")
")
")
")